How to Start a Button Making Business?
Making Button Pin is just a typical hobby for others, designing your own and make a personalized button pin as a simple project and even as a gift for your kids or in of all ages. But Button pin making can be a great business too. Souvenirs are everywhere and it’s very common nowadays, and it would be special if it’s personalized. You can see them in the offices, schools, any occasion, religious events and much more. You can also put this in a funds raising project, large or small business promotion for group or any organizations. Significant events like elections which are using it as campaign materials.
TURN YOUR HOBBY INTO PROFITABLE BUSINESS
Button Pin making belongs to the digital printing business. It doesn’t require you to occupy any large commercial space, and it’s not as expensive as you think. You just need to spend amount for the Press machine and some of the basic consumables.
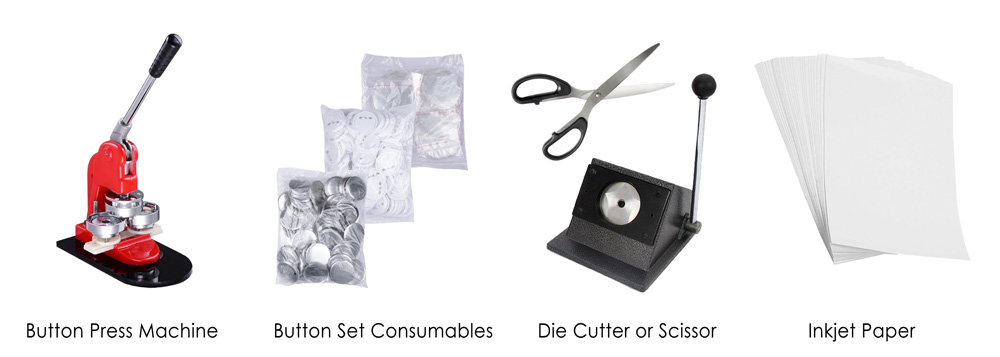
YOU JUST NEED:
Basic needs for Button Pin Making service are Button Press Machine, blank button pin sets, dye cutter or scissor, and inkjet paper.
PROCEDURES
-
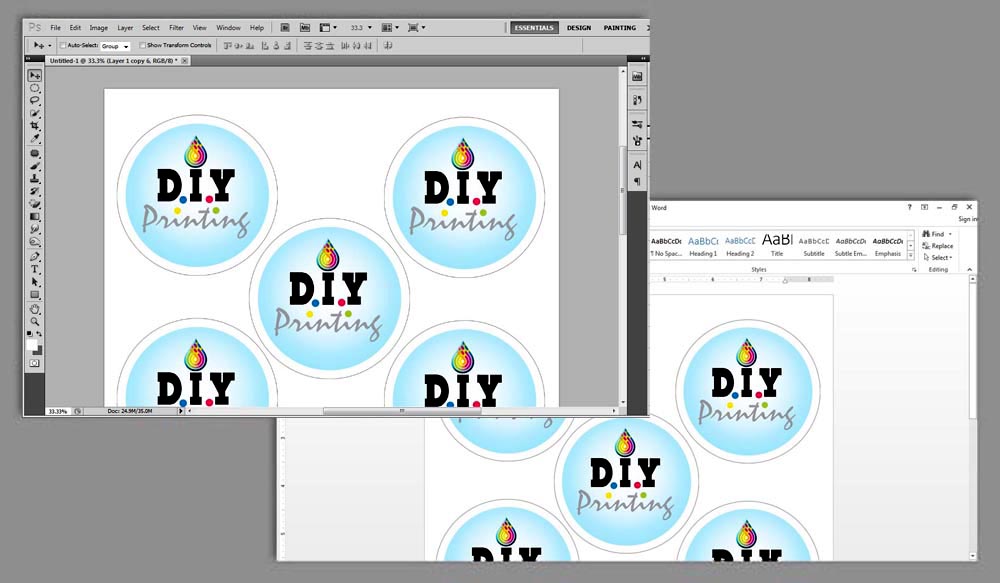
It is natural to have computers set in any digital printing business. First, make a design on your computer and resize it depend on the size of mold that you’re using, make multiple copies by copying and pasting your design. You can use graphics software like Photoshop, Corel or use Microsoft word as simple then print on your inkjet paper.

-
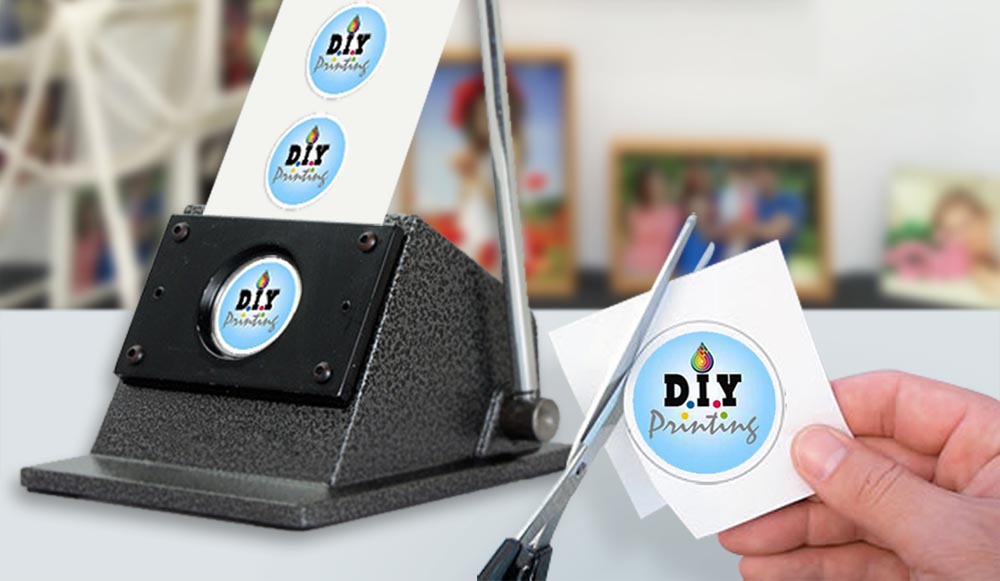
You can use die cutter or puncher for less labor and mass production if the equipment is available. But, you can manually hand-cut your design by using a scissor.
-
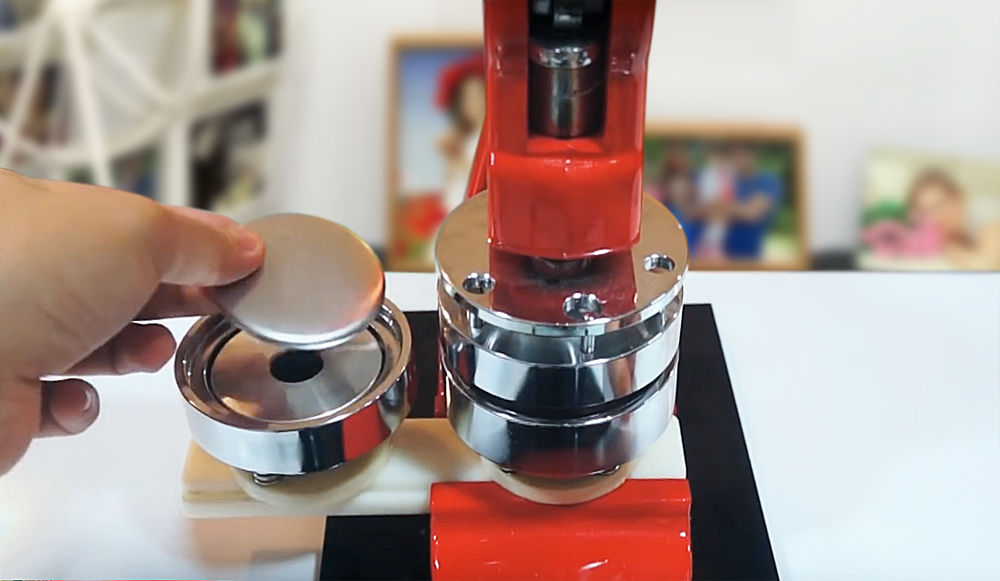
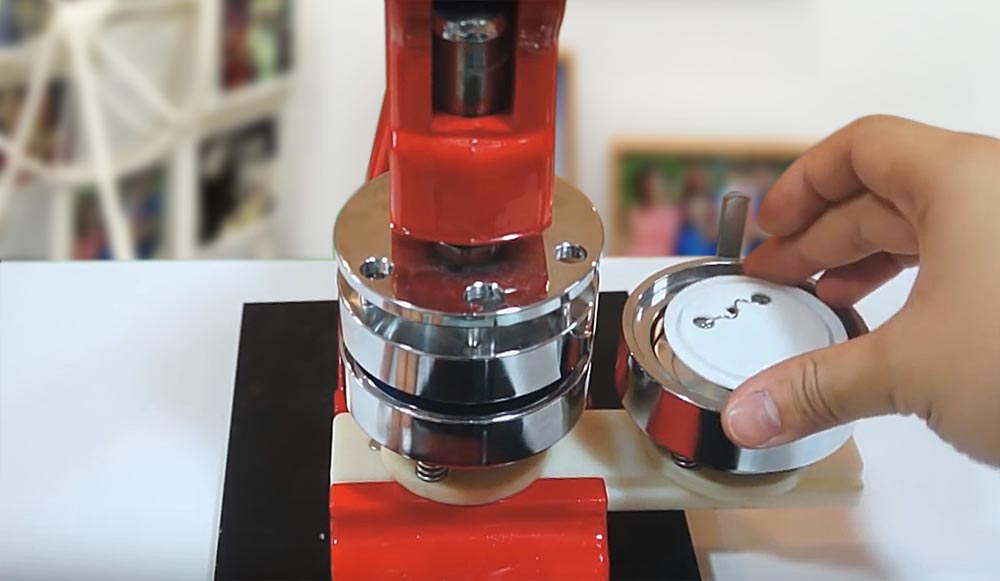
Put the metal plate, place it on the mold at the left side of the press machine.
-
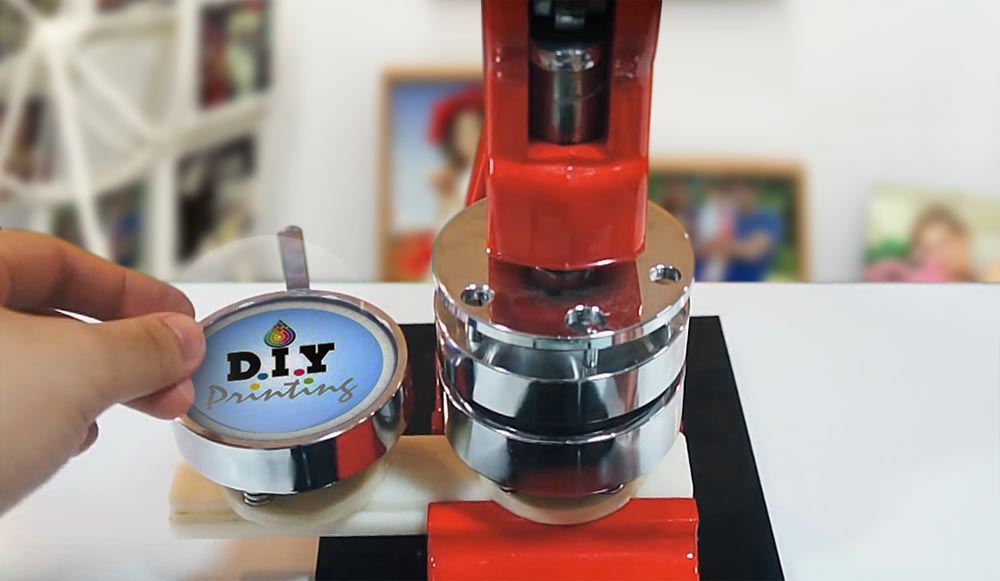
Place the printed image on top of the metal plate, then put the acetate or the transparent film. Press the button maker.
-
Place the back cover face-down on the mold at the right side. Slide to the other mold containing the back cover and then Press.
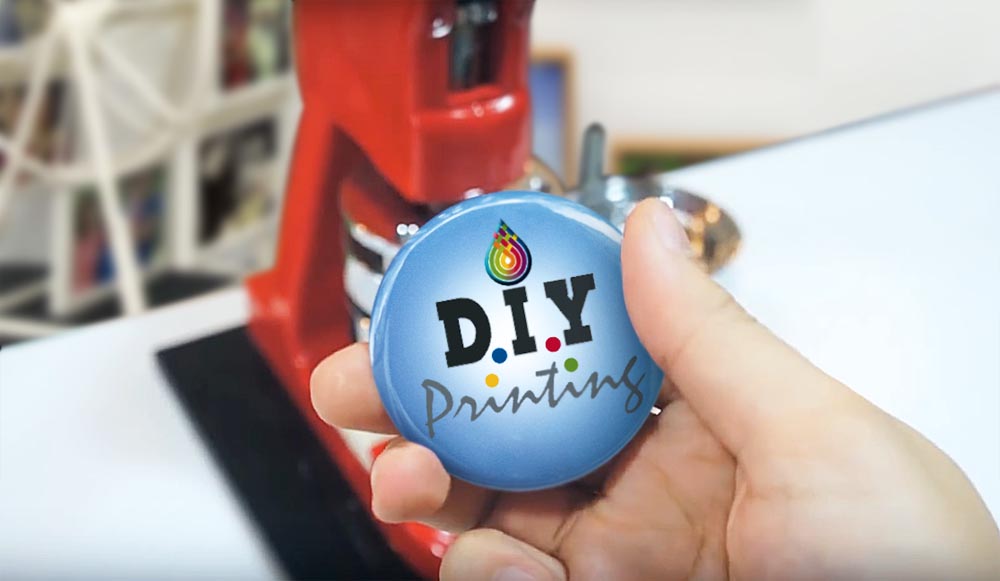
-
DONE.